This is more of a workaround than a feature, but it will get the job done until we implement new tooling to make this more streamlined. Below are the steps to transfer data directly from your premium storage vault to your local pc using FileZilla.
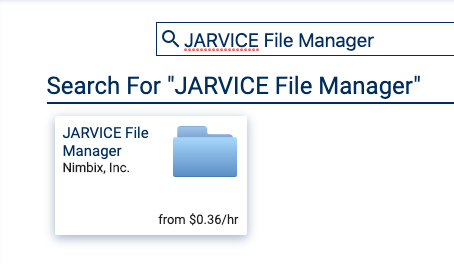
1. Click on the "JARVICE File Manager" app card
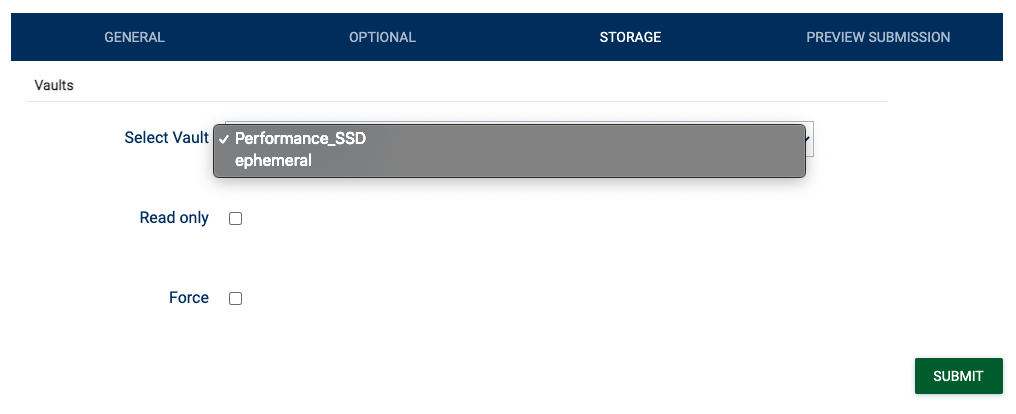
2. Select the "Performance_SSD" storage option under the "Storage Option".
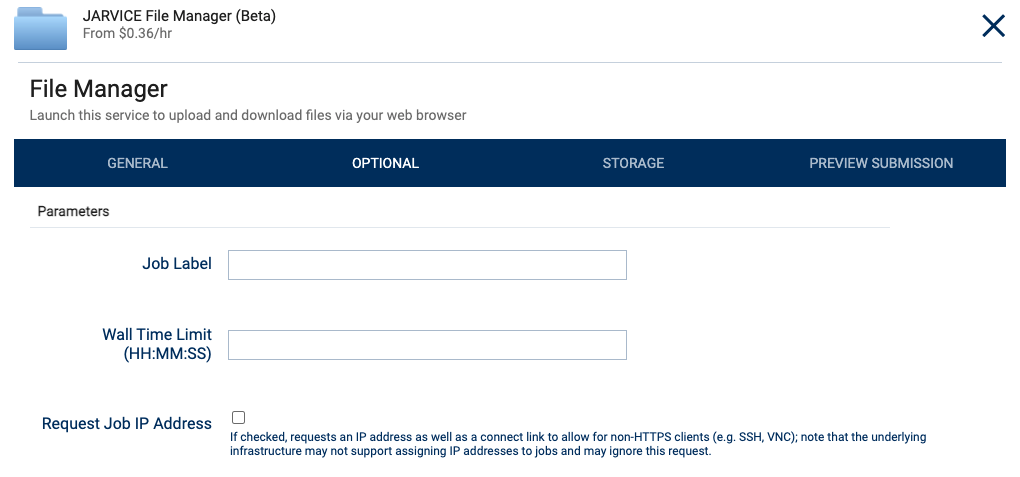
4. Then click the "Optional" tab and make sure to tick the box next to "Request IP Address" so that we can connect to the instance with FileZilla.
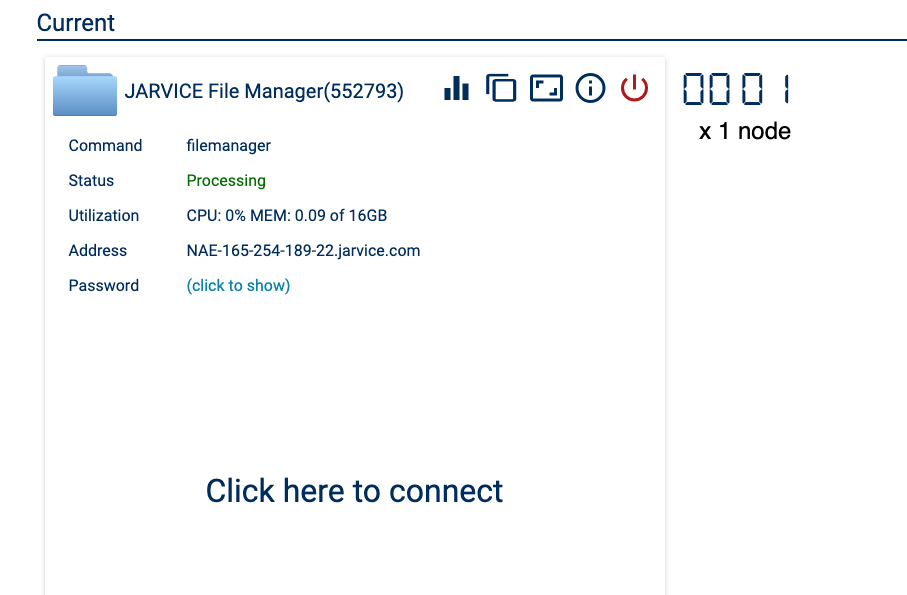
5. In the Dashboard, look at the job card and you'll see "Address" and "Password". This is what you'll be using in FileZilla. (These credentials are also available if you click the "i" next to the power button on the job card.)
- Copy and paste the Address in the "Host" field in FileZilla
- Username will always be "nimbix"
- Copy and paste the password in the password field in FileZilla
- Enter "22" for the "Port" field in FileZilla
4. Click "Connect" in FileZilla
5. Once connected, this will put you in /home/nimbix on your premium storage, but your data is in /data so you'll need to navigate to that directory to see all your files.
If you have any issues or questions, just let us know by emailing support@nimbix.net and we'll be happy to help.