JARVICE Storage Vaults
The default storage location is /data in your application environment and is where JARVICE applications primarily read and write data.
You can upload and download your data at any time whether you are running jobs or not. Here are two different ways to transfer data on Nimbix:
- Nimbix File Manager (recommended)
- Secure FTP protocol (SFTP) w/ Nimbix File Manager
Let's take a look at each method below.
Nimbix File Manager
In order to use the Nimbix File Manager, please follow the quick and easy steps below.
- Login to the portal at https://cloud.nimbix.net.
- Click “Compute” in the top navigation bar.
- Scroll down and click “JARVICE File Manager” app card.
- This will expand the app card, click on “File Manager” in the bottom left corner.
- This will take you to a “Task Builder” screen. At this point, unless instructed otherwise, take all of the defaults, and click the green “Submit” button.
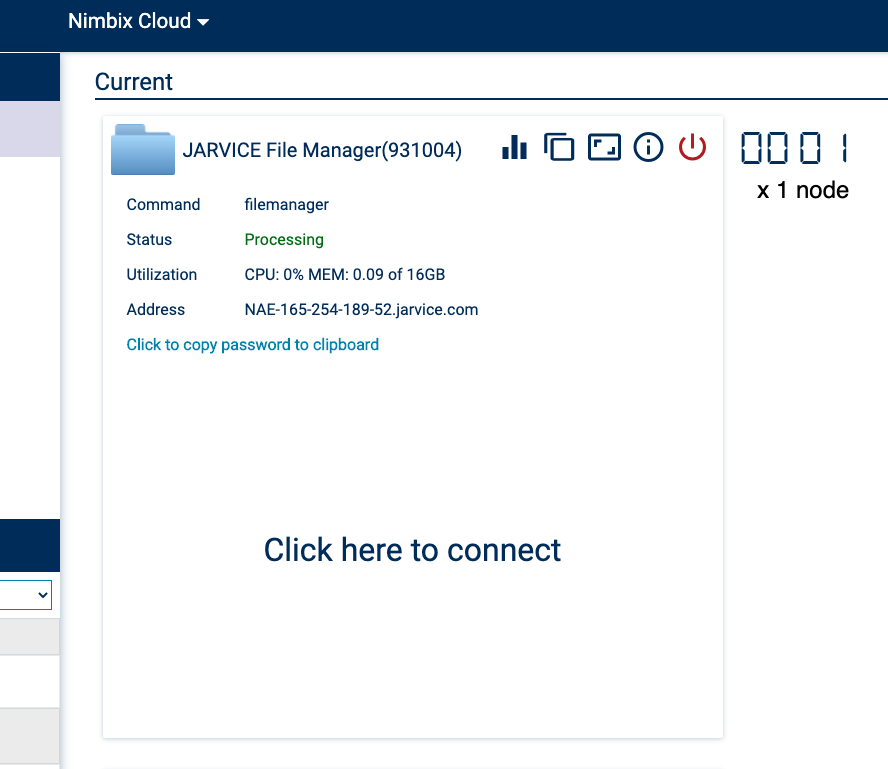
- You’ll be returned to your Dashboard. After a few seconds, you’ll see a new job titled “JARVICE File Manager: <job Number>”, click on "Click here to connect"
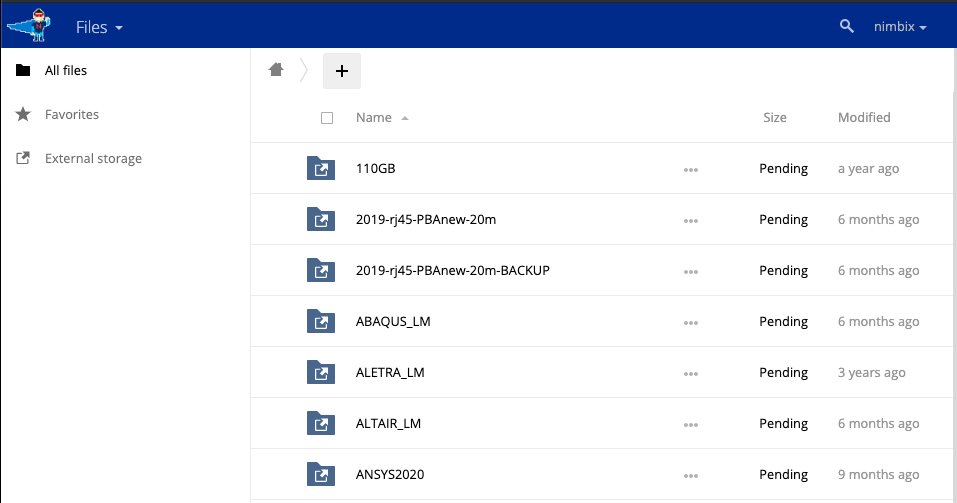
- At this point you should now see the content of your /data folder and be able to drag and drop files to and from your local machine.
Once you’re done moving data, go back to your Dashboard and shutdown your File Manager job.
Secure FTP protocol (SFTP) w/ Nimbix File Manager
Please check out our recommended method of transferring data using SFTP w/ File Manager.
How to Upload Data to JARVICE using SFTP and File Manager Together – Nimbix
Of course, you can always reach out to Nimbix support by emailing support@nimbix.net and we'll be happy to help!