There could be several different reasons you would want to transfer data between different vaults. The most common reasons would be that you want to share data with a user on your team, or you upgraded from a standard vault to a premium vault and want to move all your information to your new premium vault.
In this tutorial, I'm going to walk you through the process of moving this data over from a standard vault to a premium vault. This will be the same process you use to transfer data between any vaults, just switch out the "premium vault" with the applicable vault.
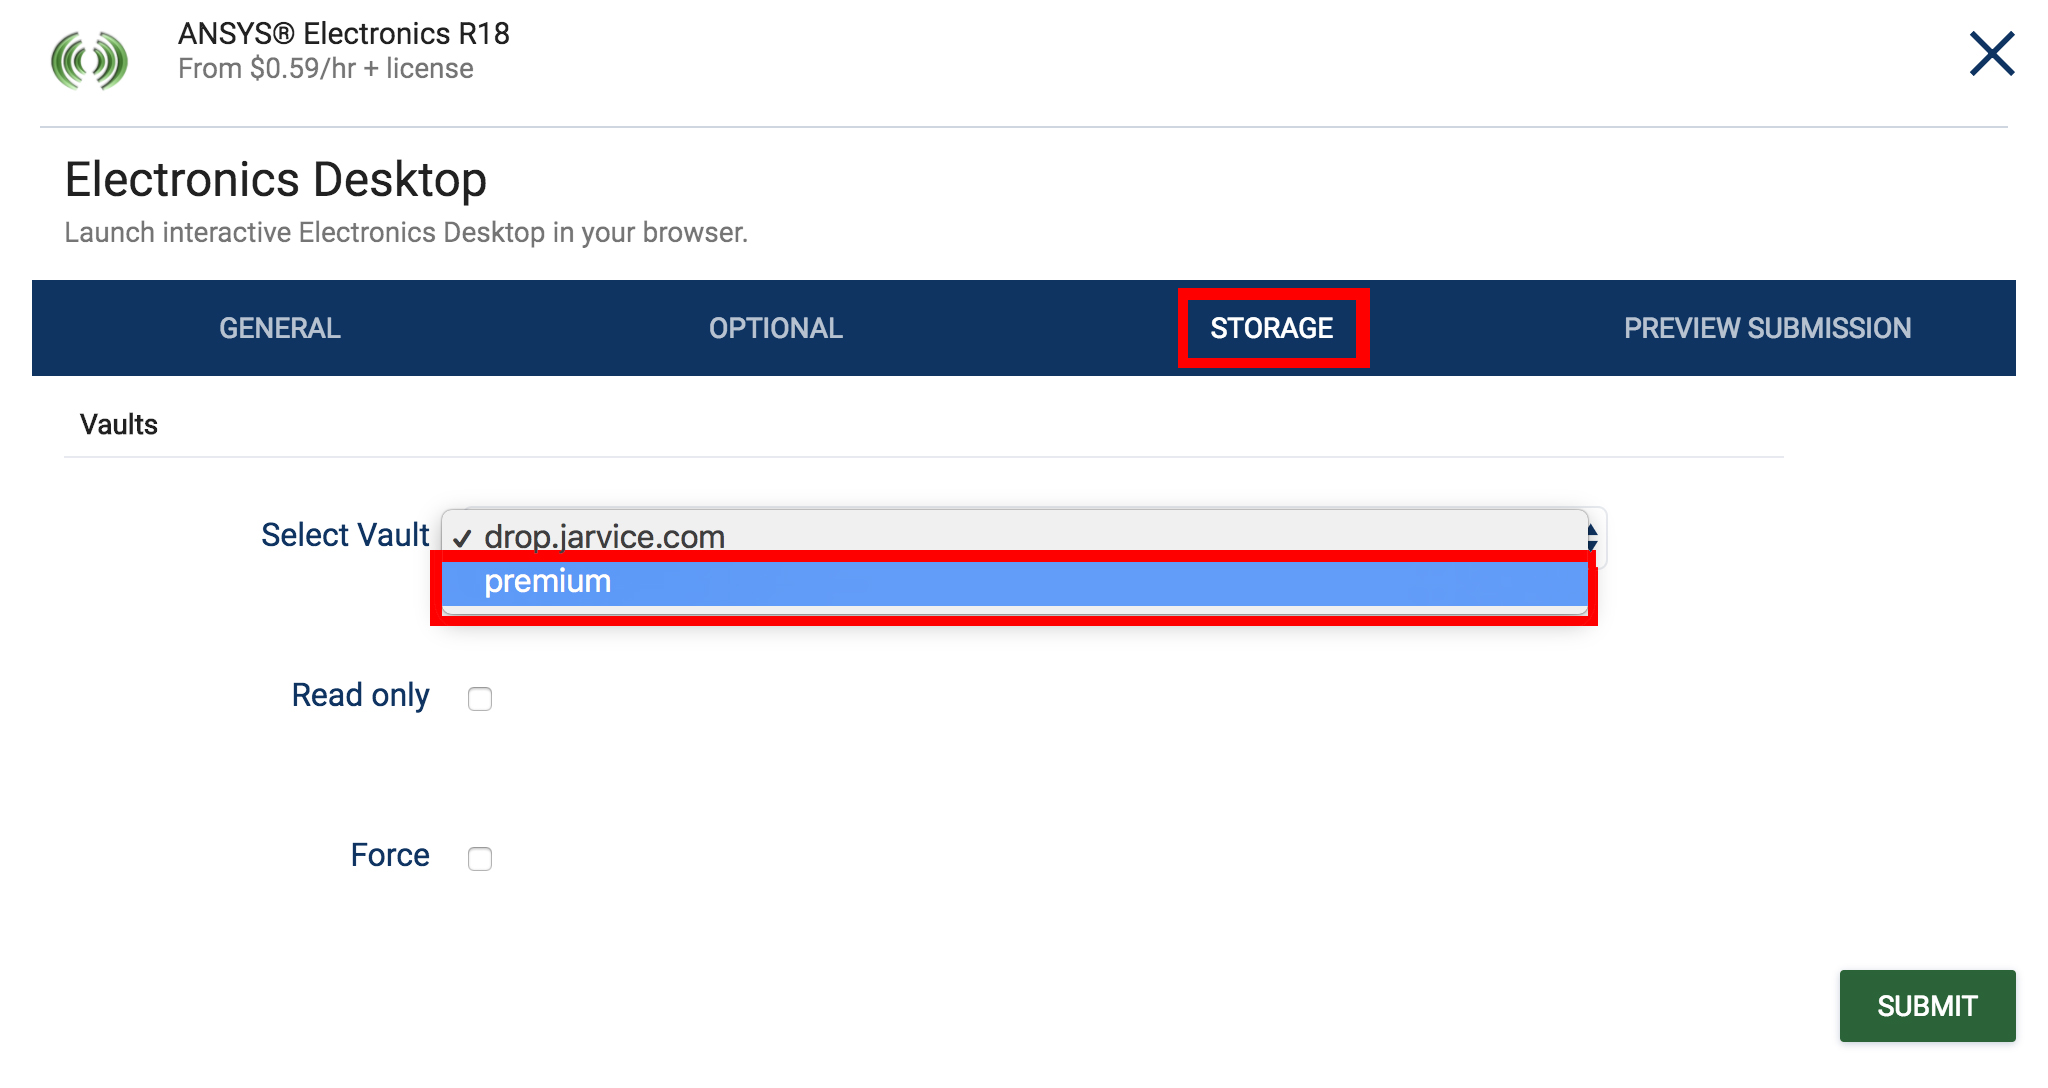
First, you'll need to make sure the vault is accessible from your username. A premium vault will be available upon creation, but a team member's vault will have to be shared with you first. You can follow this tutorial to share a vault prior to moving to the next step. You can check that this is set up correctly by clicking on the "Storage" tab (pictured below), clicking on the "Select Vault" dropdown and you should see the shared vault.
So let's walk through a vault migration from a standard vault to a premium vault. To transfer data from your existing vault you will need to use the Vault Migration Assistant application located on the compute tab in the platform. Make sure you select the premium vault under the storage tab when launching the application.
This application will launch a FileZilla instance and automatically connect to your existing vaults.jarvice.com vault. To transfer files from your standard vault you will need to move the files via FileZilla to the /data (where we mounted your premium vault for this job). I have attached an image to denote where each vaults is located in the FileZilla GUI.

This next step is unique only to premium vaults. While Nimbix File Manager can be used for standard to standard vault migration, it is not required. You can use FileZilla instead if you prefer.
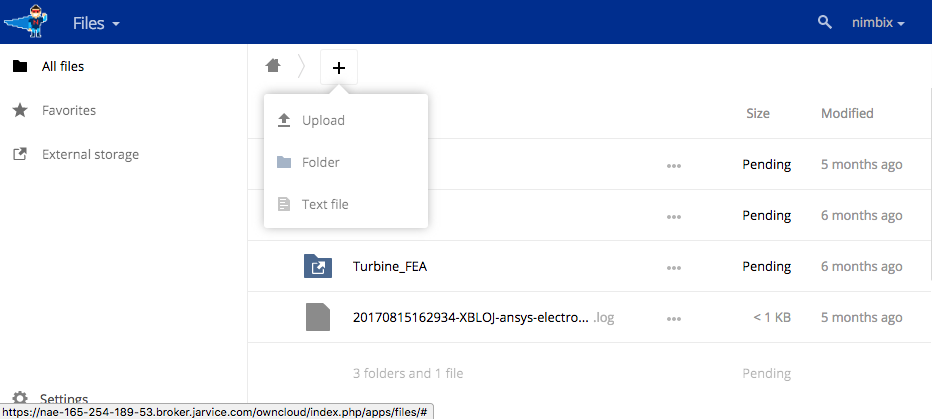
To transfer data from your local computer to the premium vault you will need to use the Nimbix File Manager. Make sure to select the premium vault from the storage tab when launching the Nimbix File Manager. Once you connect to the Nimbix File Manager job you can drag and drop files to your premium vault or use the upload link inside the Nimbix File Manager application.
Keep in mind that FileZilla is not currently a supported way to transfer files from your local computer to your premium vault. This is something we're looking into, but it is not currently available.
If you have any questions please reach out to support@nimbix.net and we will be happy to assist.